Table of Contents
The AM335x Starter Kit (EVM-SK) provides a stable and affordable platform to quickly start evaluation of Sitara™ ARM® Cortex™-A8 AM335x Processors (AM3352, AM3354, AM3356, AM3358) and accelerate development for smart appliance, industrial and networking applications. It is a low-cost development platform based on the ARM Cortex-A8 processor that is integrated with options such as Dual Gigabit Ethernet, DDR3 and LCD touch screen.
The following steps describe how to take a Storyboard sample and place it down on the TI AM335 board. It is assumed that the TI AM335 board has been setup correctly running Linux and that it is connected via a serial cable to either a laptop or desktop computer.
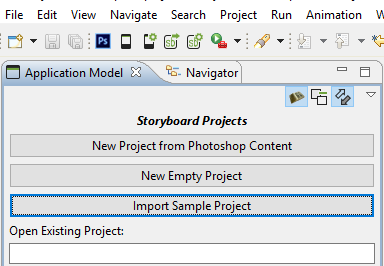
To import a Storyboard sample the user can right-click within the Navigator view and select Import or by selecting Import Sample Project from the Application Model view.
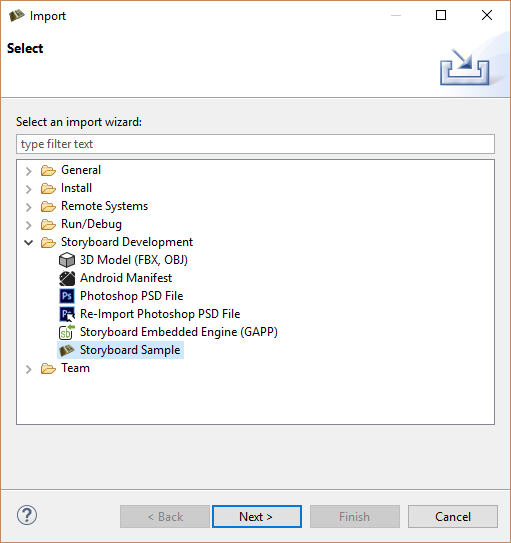
In the Select dialog expand the Storyboard Development folder and select Storyboard Sample. (This dialog box will be skipped if you selected Import Sample Project from the Application Model view.)
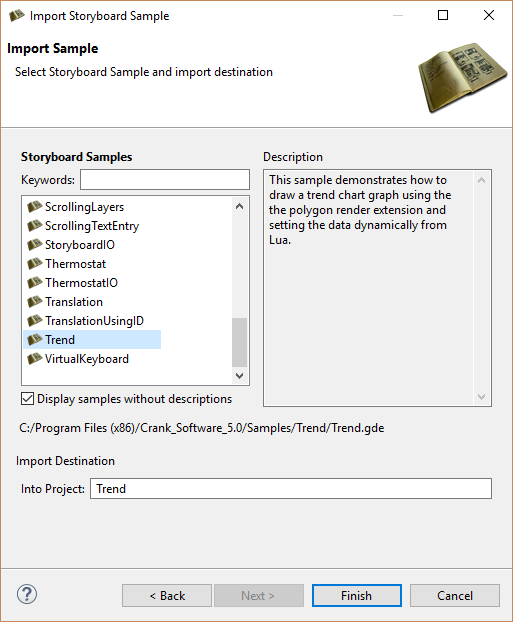
In the Import Sample dialog any sample can be used but for the purposes of this example the Trend sample has been selected.
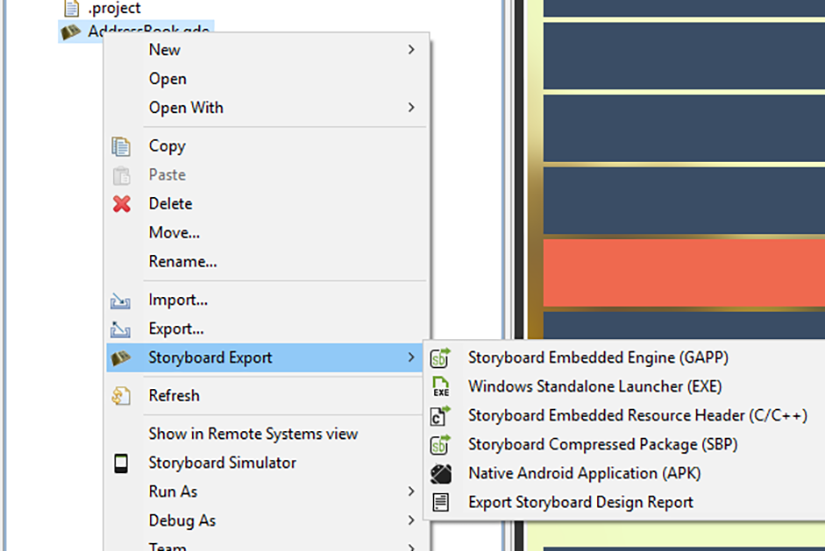
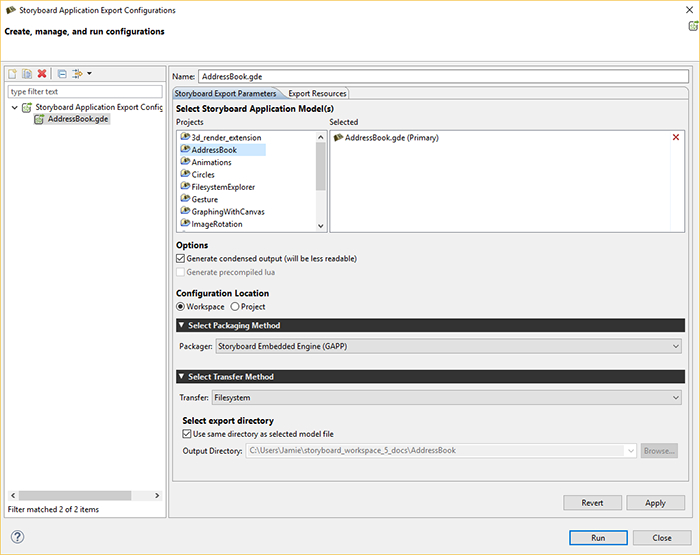
Once a Storyboard application is complete and ready to be placed on a target platform, it needs to be exported from Storyboard Designer in a format that the Storyboard Embedded Engine can use. Right-click the Storyboard application .gde file, located in the project folder in the Navigation View, and select > .
The Export Selection dialog is used to tell Storyboard Designer where to export the selected Storyboard Application. Using the Select Transfer Method you can select if you want to export locally or remotely. Selecting Filesystem and leaving the "Use same directory as selected model file" option checked will place the data bundle for Storyboard Embedded Engine into the application's project directory. Deselecting the option enables the data bundle to be placed in another location (e.g., USB drive, NFS mount, etc).
Selecting SCP Transfer enables you to remotely connect to your target platform and transfer via SCP.
The Storyboard Embedded Engine is the optimized runtime component that resides on the target platform that interprets the data bundle to display the Storyboard application. The Storyboard Embedded Engine is categorized by operating system, system architecture, and rendering technology.
All the supported Storyboard Embedded Engines are shipped with Storyboard Suite and are located under the Storyboard_Engine directory.
Note
For the purpose of this example, the Storyboard application and Storyboard Embedded Engine will be exported to a USB drive.
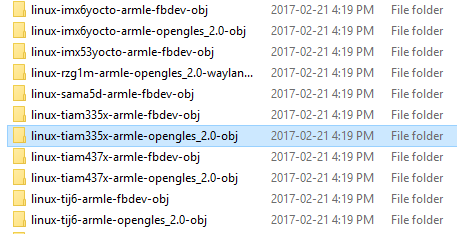
To run the Storyboard application on the TI AM335 a Linux, Armle, OpenGL ES runtime is required. Copy the linux-tiam335x-armle-opengles_2.0-obj Storyboard Embedded Engine and place it on the USB drive along with the Storyboard application that was just exported.
The USB drive with the Storyboard application along with the correct Storyboard Embedded Engine can now be ejected from the laptop/desktop and connected to the TI AM335.
The following commands are to be executed within the serial terminal connected to the TI AM335.
Login to the TI AM 335 and mount the USB drive:
login: root
mount /dev/sda1 /mnt/usb
Now, the Storyboard SB_PLUGINS specific environmental variable and an addition to the LD_LIBRARY_PATH environment variable need to be made:
export
                            SB_PLUGINS=/mnt/usb/linux-tiam335x-armle-opengles_2.0-obj/plugins
export
                            LD_LIBRARY_PATH=/mnt/usb/linux-codesourcery-armle-opengles_2.0-obj/lib:$LD_LIBRARY_PATH