Table of Contents
The Event Editor is used to add and edit event definitions.
The different ways to open the Event Editor are:
-
From the main toolbar, with a Storyboard Editor open, click the button.

-
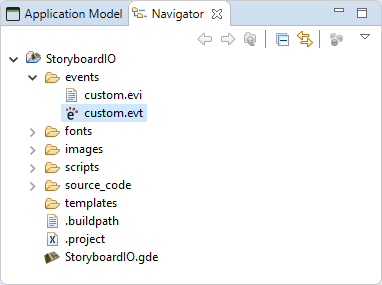
In the Navigator View, double click a .evt file.
-
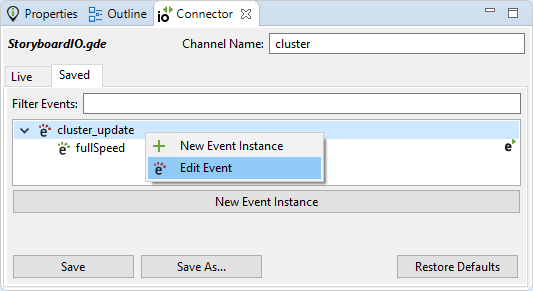
In the Storyboard IO Connector View, in the Saved mode, right click an event > .
The different ways to add a new event are:
-
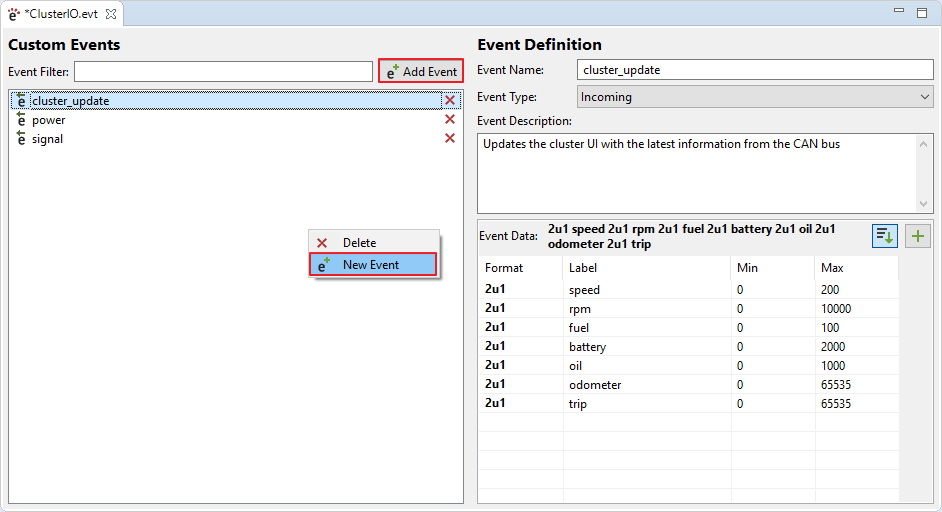
From the Event Editor, select the button or right-click the event list, select the menu item
-
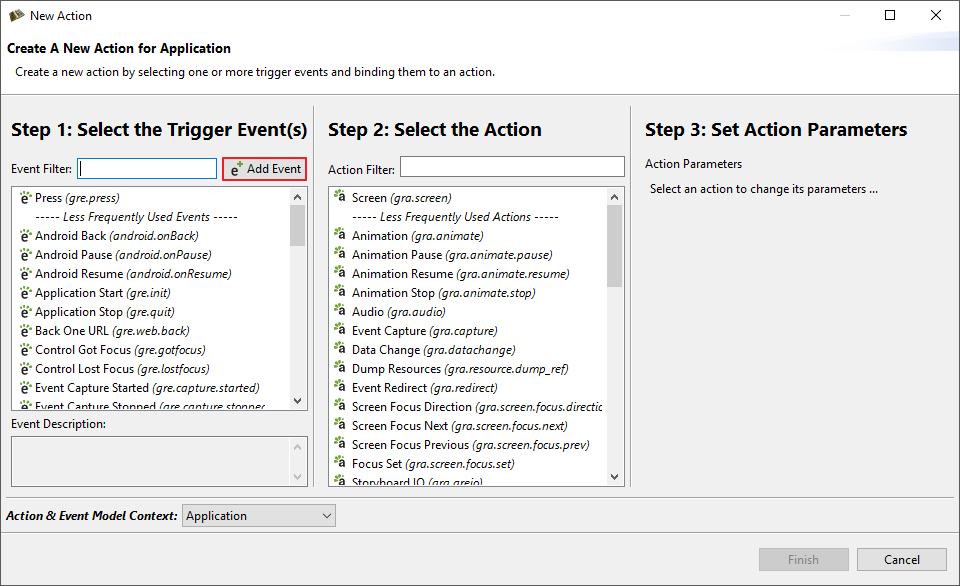
Right-click a model object and select > menu item to open the dialog, then select the button.
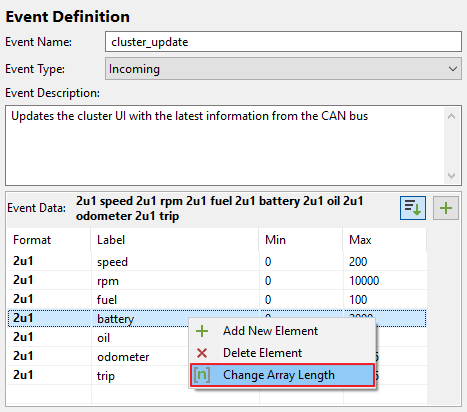
An event definition is made up of four parts, name, type, description and format.

-
Name - Must not be blank and must only contain alphanumerical characters, periods and underscores.
-
Type
-
Incoming - Events coming into the user interface from external applications.
-
Outgoing - Events from the user interface into external applications.
-
Self - Events generated from the user interface to itself and are generally used to trigger additional behavior in the UI.
-
-
Description - This field is used to store information about the event definition. Different users and teams will have their own style of event descriptions. A place to store information such as; conditions for events firing, expected behavior or any other descriptive information.
-
Format - For more information about event format strings, read the section on Serialized Data and the Event Format String. To add elements to the format string, press the
 button and open the Wizard.
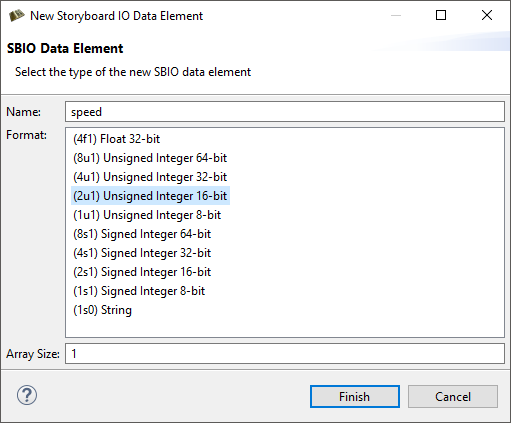
-
Name - Must not be blank, must only contain alphanumerical characters or underscores and cannot begin with a number.
-
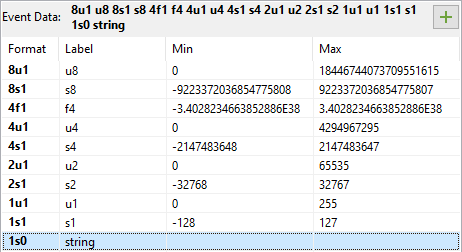
Format - The size(8,4,2,1 bytes) and type(signed, unsigned, float) of data.
-
Array Size - If this data element is an array, the Array Size will be greater than 1.
-
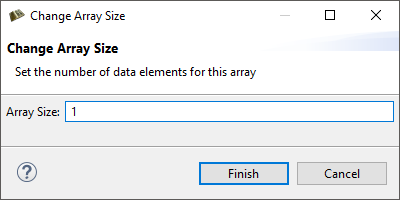
It is possible to change the size of an element array during the creation of the data element or after the event has been created by right-clicking on an event data element in the > .
The will be opened. This is a simple dialog that accepts a number which will be used as the array length for the selected data element. The array length must be greater than zero.
The event format can be changed by reording the data elements. This is done
using drag and drop operations. There are rules that enforce the order of data
elements from the largest data types down to the smallest data types. Data
elements that are of common size can be reordered amonst themseleves, regardless
of their type(i.e. 4u1, 4s1 and 4f1). To enable/disable the enforcement of
sorting rules, toggle the  button.
Each event data element has min and max attributes associated with it. It is a good approach to define these values when defining the event. These attribtues are not used by Storyboard Engine, they are only used by Storyboard Designer Storyboard IO Connector. To edit these values, double-click in the cell to activate the editor.