Importing Sample Projects from Crank's Public SVN
Installing Subclipse and connecting to the Crank Software public repository
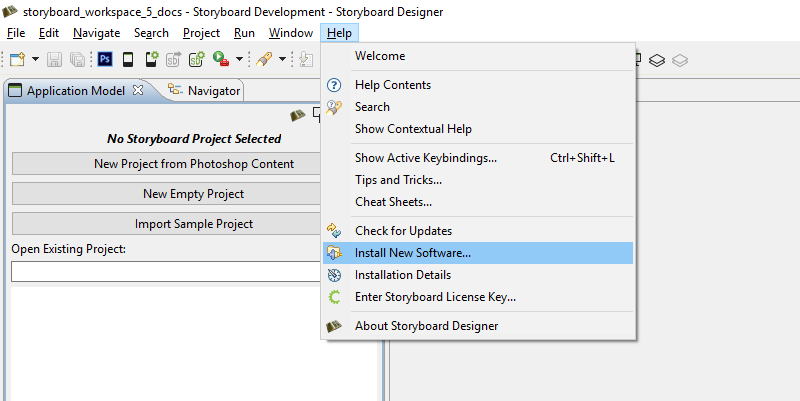
Before we are able to start using the demos from the public Crank code repository we will first need to install a SVN client. To do so in Storyboard Designer we go to > .
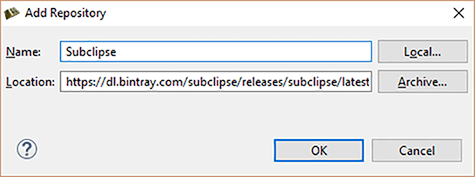
Here at Crank we use Subclipse. Click on Add and for Name you can enter anything you please. To keep it simple we will use Subclipse. For Location enter https://dl.bintray.com/subclipse/releases/subclipse/latest/ Click OK.
After you click OK you will be presented with a list of software to install. There is no need for Mylyn so you can uncheck it. Click Next.

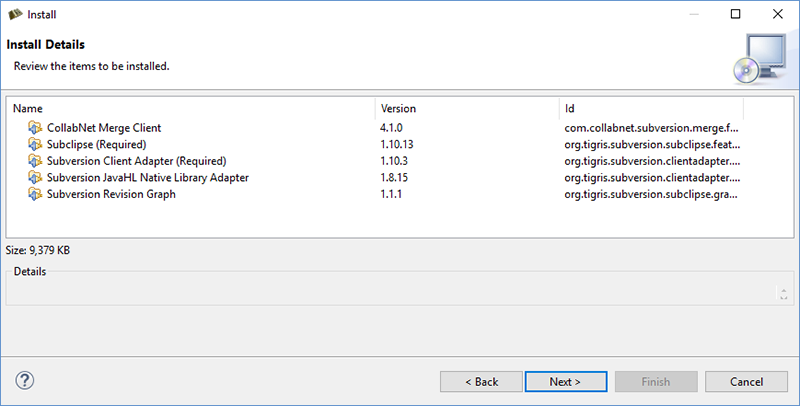
Details of the software to be installed. Click Next.
Accept license agreements. Click Finish.

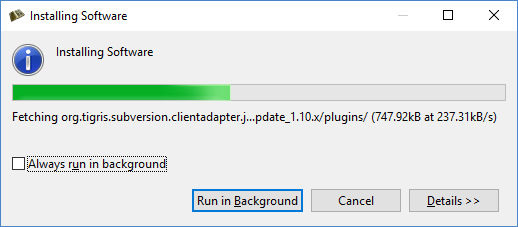
Software installation progress.
Generic warning that the software being installed is not signed. Click OK.

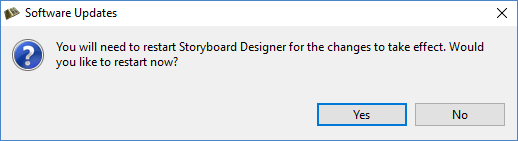
After the Subclipse SVN client is installed you will need to restart Storyboard Designer. Click Restart Now.
Now that Subclipse is installed we need to go to that perspective to add a repository.
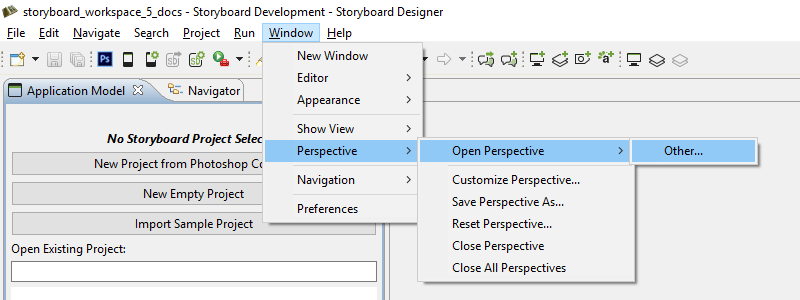
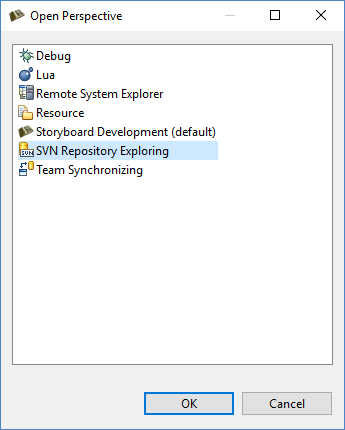
Select SVN Repository Exploring. Click OK.
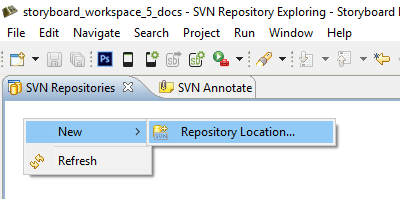
To add a repository we simply right click in the SVN perspective window and select > .
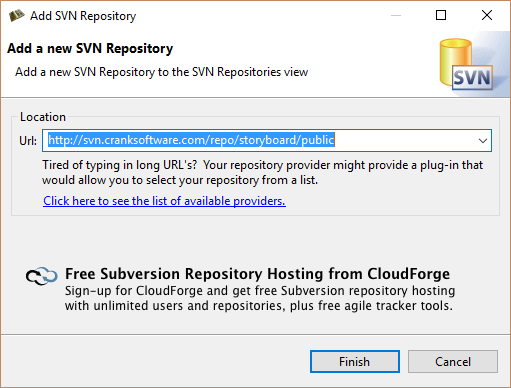
Enter the Crank public code repository URL http://svn.cranksoftware.com/repo/storyboard/public Click Finish. When you are prompted for login credentials use:
- Username
storyboard
- Password
crankrocks
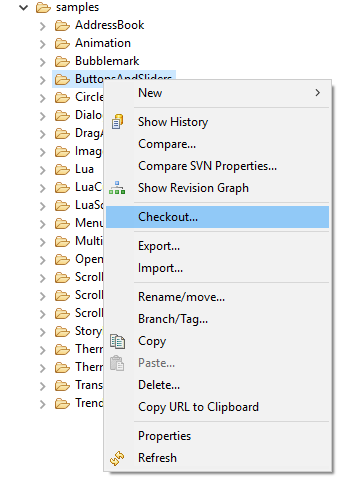
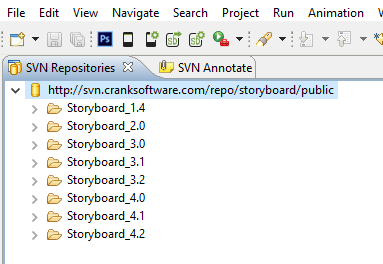
You are now connected to the Crank Public Repository. By expanding the directories you can see the different demos available for checkout.
To checkout from the repository you right click on the demo and select Checkout. Once completed click on the Storyboard Development tab to see the application in your workspace.