This quick tutorial will show how to use the new 3D Model render extension with a new project
Select File > New > Storyboard Application.
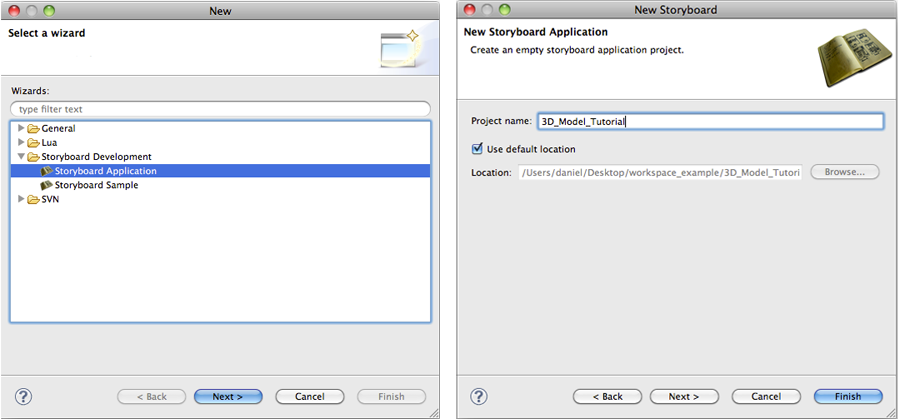
Select Project name and click Finish.
Once the empty project loads add a control with a 3D Model render extension to the screen. Nothing will show up in the render extension since a model file hasn't been selected.
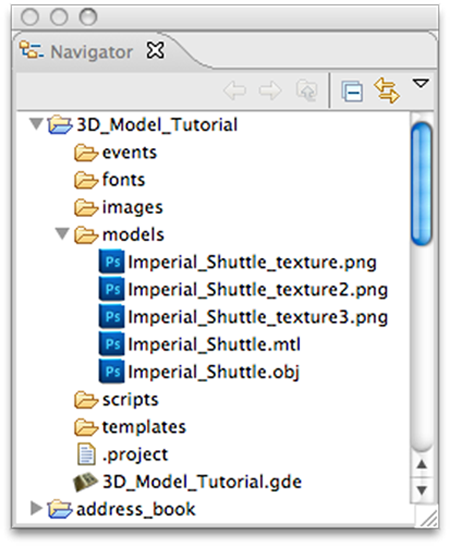
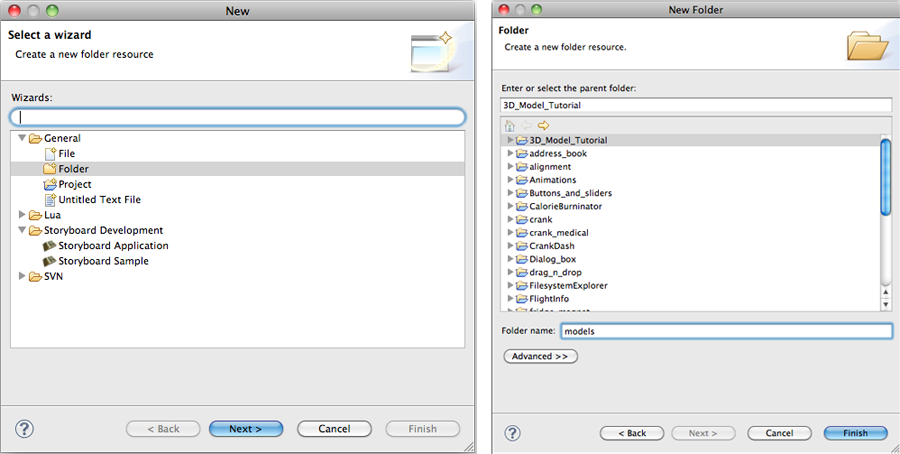
Copy an OBJ file anywhere within the project. (The models for this tutorial were placed in the user created models folder.)
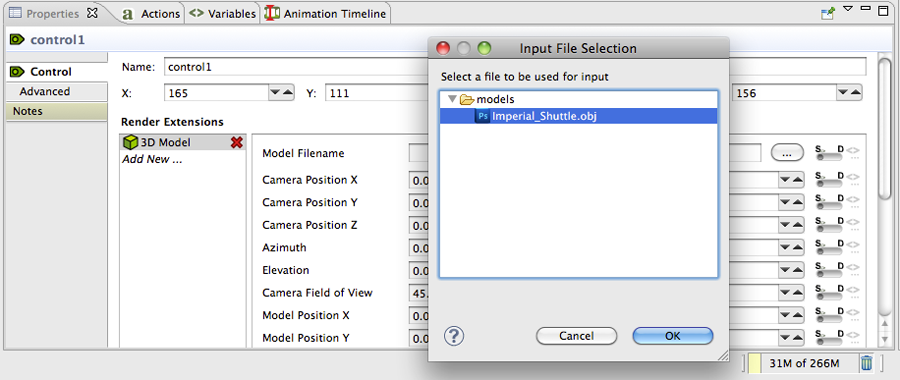
Go to the 3D Model properties pane and either enter the location of the model or push the adjacent button to browse the project for any OBJ files.

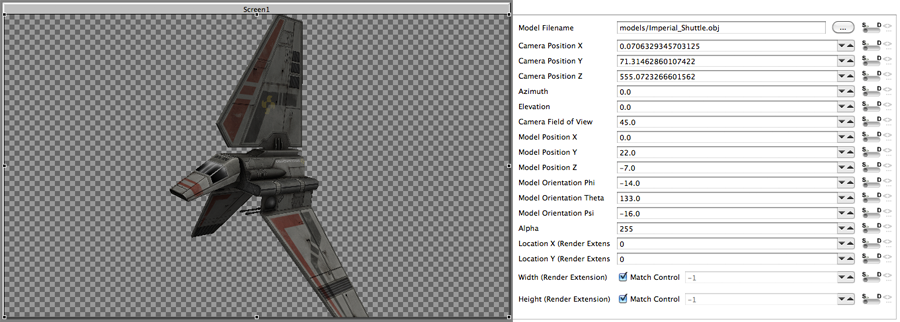
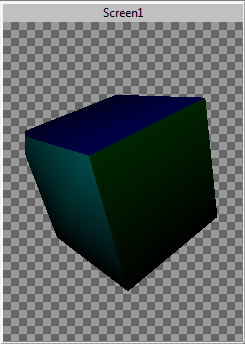
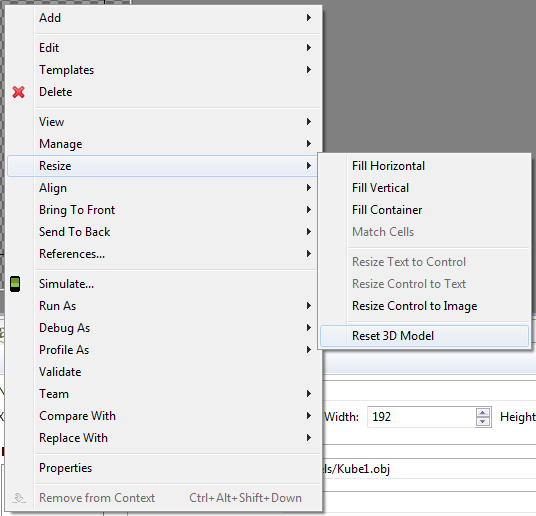
Once the model loads it might not be immediately visible. Right click on the control and select Resize > Reset 3D Model. This is set some of the camera coordinates to make the model visible.
 |
Further manipulation of the model properties may be needed in order to place the model in the desired position. The following are the definitions of each of the model’s properties:
filename - The name of the model to load.
camera_position_x - The x position of the camera.
camera_position_y - The y position of the camera.
camera_position_z - The z position of the camera.
azimuth - The rotation of the camera around the y axis in degrees.
elevation - The rotation of the camera around the x axis in degrees.
camera_field_of_view - The field of view the camera in degrees. The field of view specifies how much of visual sphere is mapped to the control. A larger field of view is equivalent to using a wide-angle lens on a camera, and a smaller field of view is equivalent to using a zoom lens.
model_position_x - The x position of the model.
model_position_y - The y position of the model.
model_position_z - The z position of the model.
model_orientation_phi - The rotation of the model around the x axis in degrees.
model_orientation_theta - The rotation of the model around the y axis in degrees.
model_orientation_psi - The rotation of the model around the z axis in degrees.
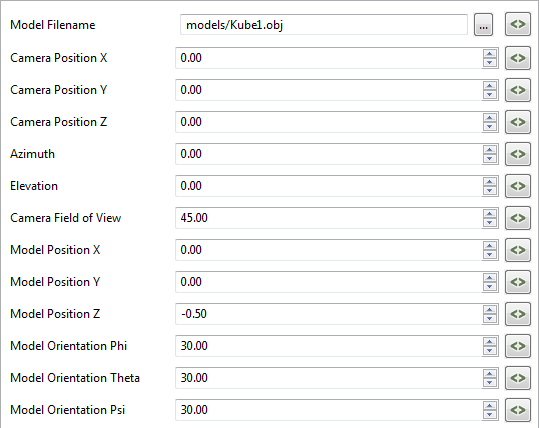 |
After setting the desired properties the model will automatically reposition itself.