This quick tutorial will show how to create a Storyboard Application that uses Android's multi-touch support.
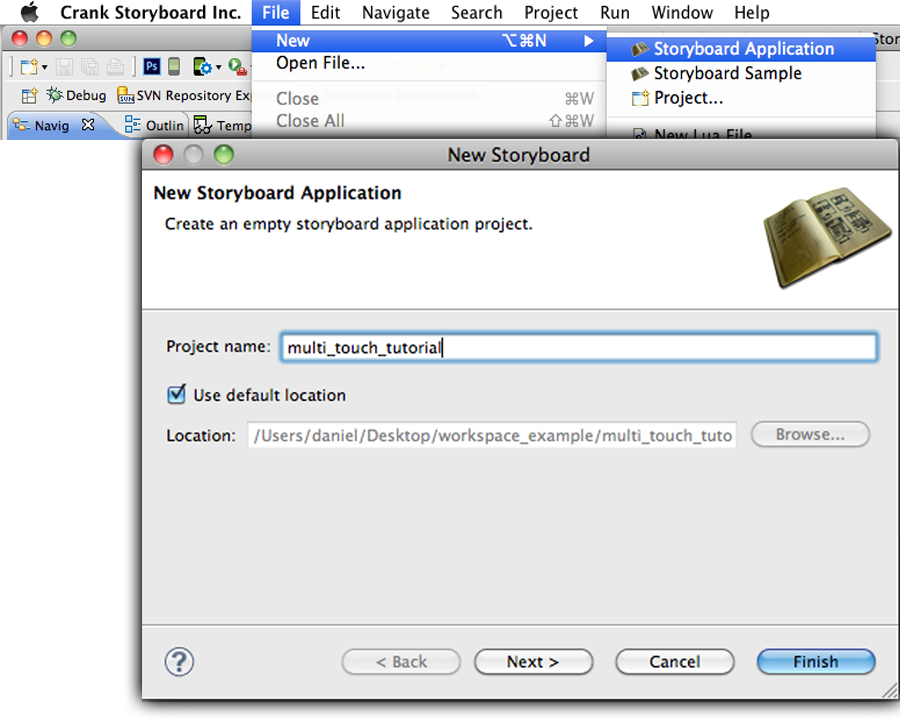
Select File > New > Storyboard Application.
 |
Select Project name and click Finish.
 |
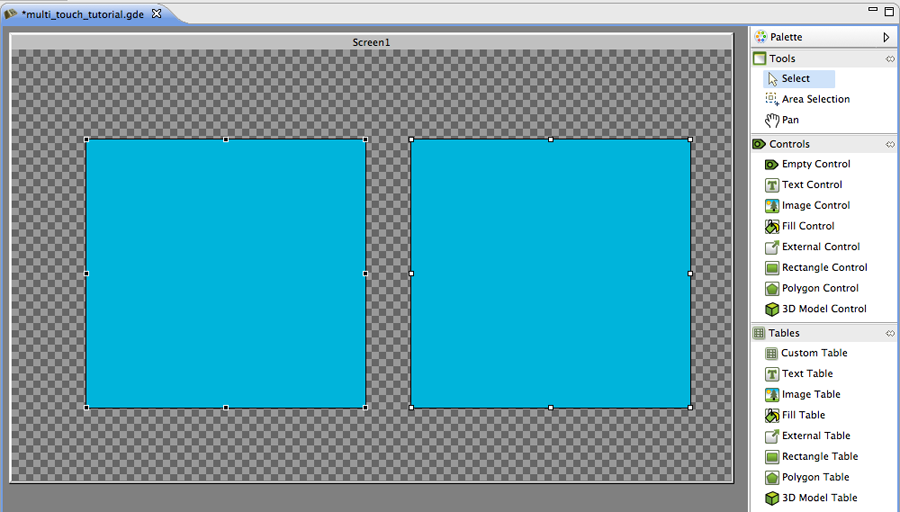
Once the empty project loads, add two controls each with a Fill render extension. Along with the Fill add a variable to both of the controls that stores a color. Set both of the Fills’ color argument to that variable (In this case blue is used as the default).
 |
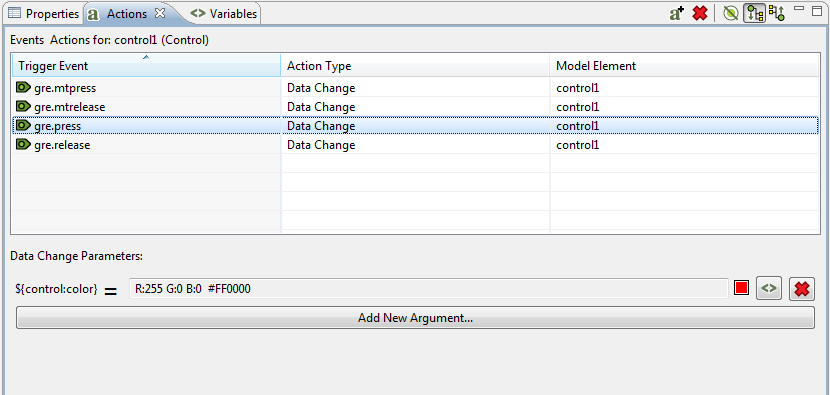
Time to add actions. In order for the multi-touch to work correctly one must add actions for both single touch and multi-touch. The single touch actions will be used when there is only one touch point, while the multi-touch events will be used when there are two or more touch points. In this example we’ll use the gre.mtpress/gre.press and gre.mtrelease/gre.release events with a DataChange action where we change the color of the color variable for each of the controls (this way when you press and release the control its color changes). This example uses red for when the control is pressed and blue for when it’s released.
 |
Now you can export the example application as an Android APK and run it on a device. Press either of the controls and watch their color change. This is all that's required to getting multi-touch events to work with Storyboard on Android.
Enabling Multi-Touch
The -ogesture,mode=multi option needs to be passed to the Storyboard Runtime Options when exporting an Android apk from Storyboard Designer.